Introduction to Testing

Setup

Getting Started

First we need to log-on to the server: https://rss.jupyterhub.bath.ac.uk, you should be redirected to use your University account via the Microsoft web login. This should start a jupyterhub service running on the server and return you to a page that looks like the image below. You should see a notebook called Welcome.html click on this and follow the instructions and link to set up today's intro-testing lesson.

Now go back to your jupyter homepage and open the folder intro-testing and you can click on new and Python 3 to launch a new Jupyter notebook or terminal to start a shell session. Either from a terminal or the new drop down, create a folder my_testing inside the folder intro-testing.
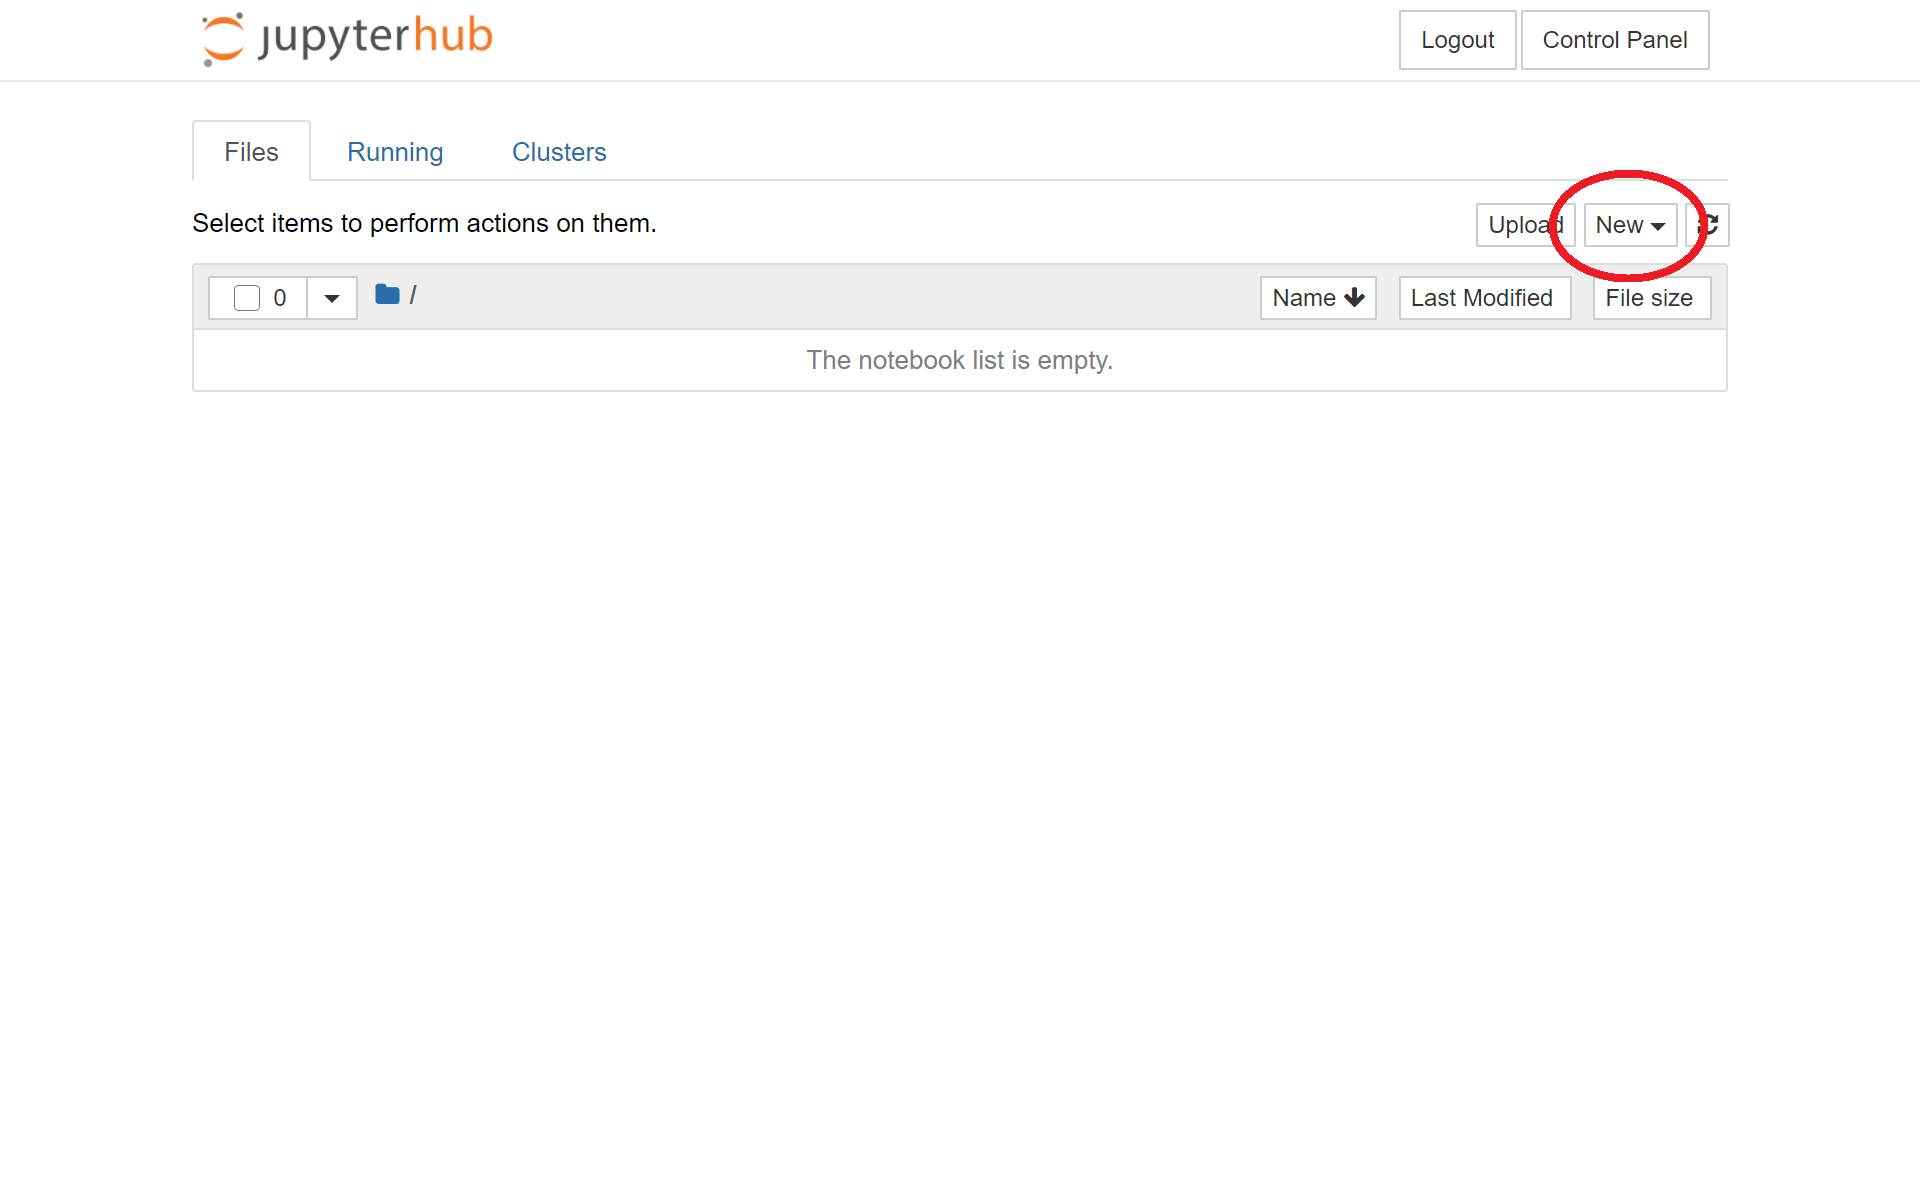
Create new notebook

Alternative Setup

If you are not using notebooks.azure.com then in preparation for this lesson, you will need to download two zipped files and place them in the specified folder:

  1. Make a new folder in your working directory, the H-drive, called intro-testing.
  2. Download testing_codes.zip and move the file to this folder.
  3. Download solutions.zip and move the file to this folder.

These files are zipped (to make it faster to download) so need to be unzipped. Open your linux terminal, e.g. linux.bath.ac.uk through xming, navigate to the directory containing the file you downloaded and unzip it using the following commands:

% cd intro-testing/
% unzip testing_codes.zip

You should end up with a new folder called code. To get started, create a new directory my_testing and change into it with:

% mkdir my_testing
% cd my_testing

We will be using the IPython interpreter for this lesson, on linux.bath.ac.uk this is launched by typing the command:

% ipython3

This Python interpreter can be installed on your own computer using this link install Anaconda. This also includes the Jupyter notebook functionality an exciting way of producing reproducible data analysis.